
Fireplace Feature Wall Makeover, Part 2


A couple weeks ago, I left you with a cliffhanger as I shared the beginning stages of the Fireplace Feature Wall Makeover. The first blog post was really focused on the wall treatment, and this one is all about the custom cabinetry, new tile work, and finishing touches!
Check out the photos below to watch as the fireplace feature wall goes from halfway there to the stunning reveal!
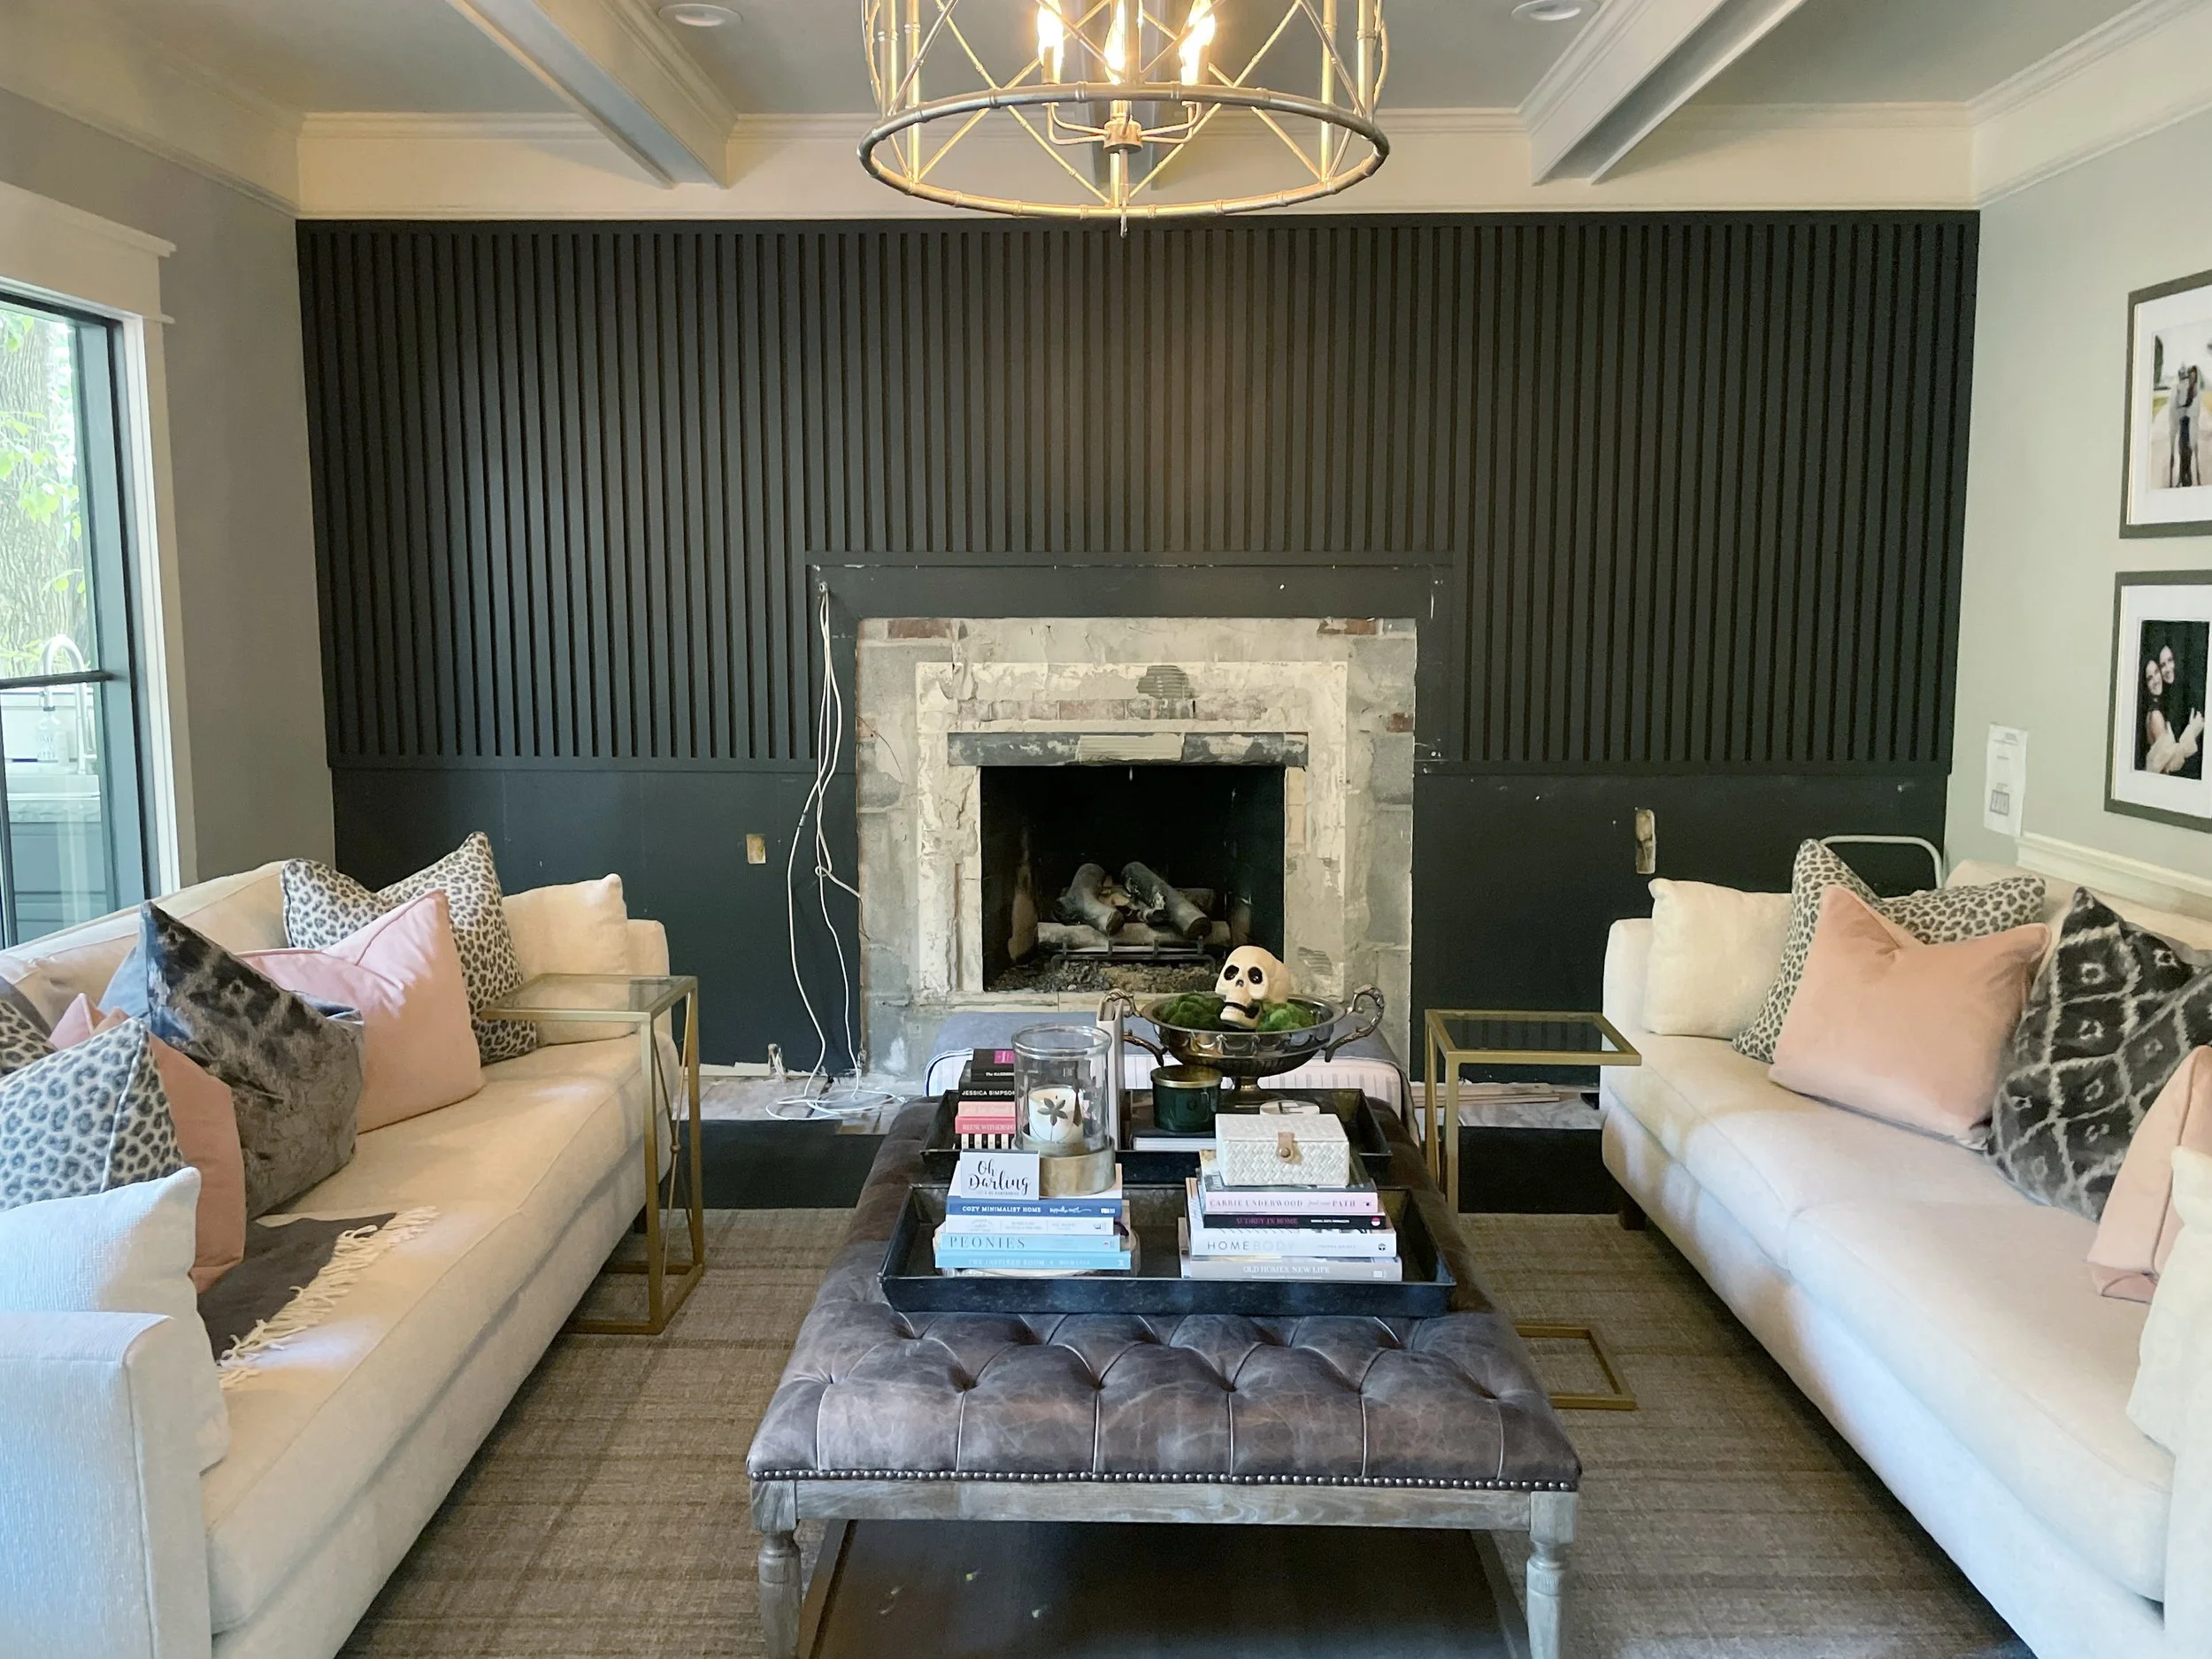
To start us off, this is a reminder of where we ended the last time! The wall treatment was mostly done, so now it is time for the cabinet install!
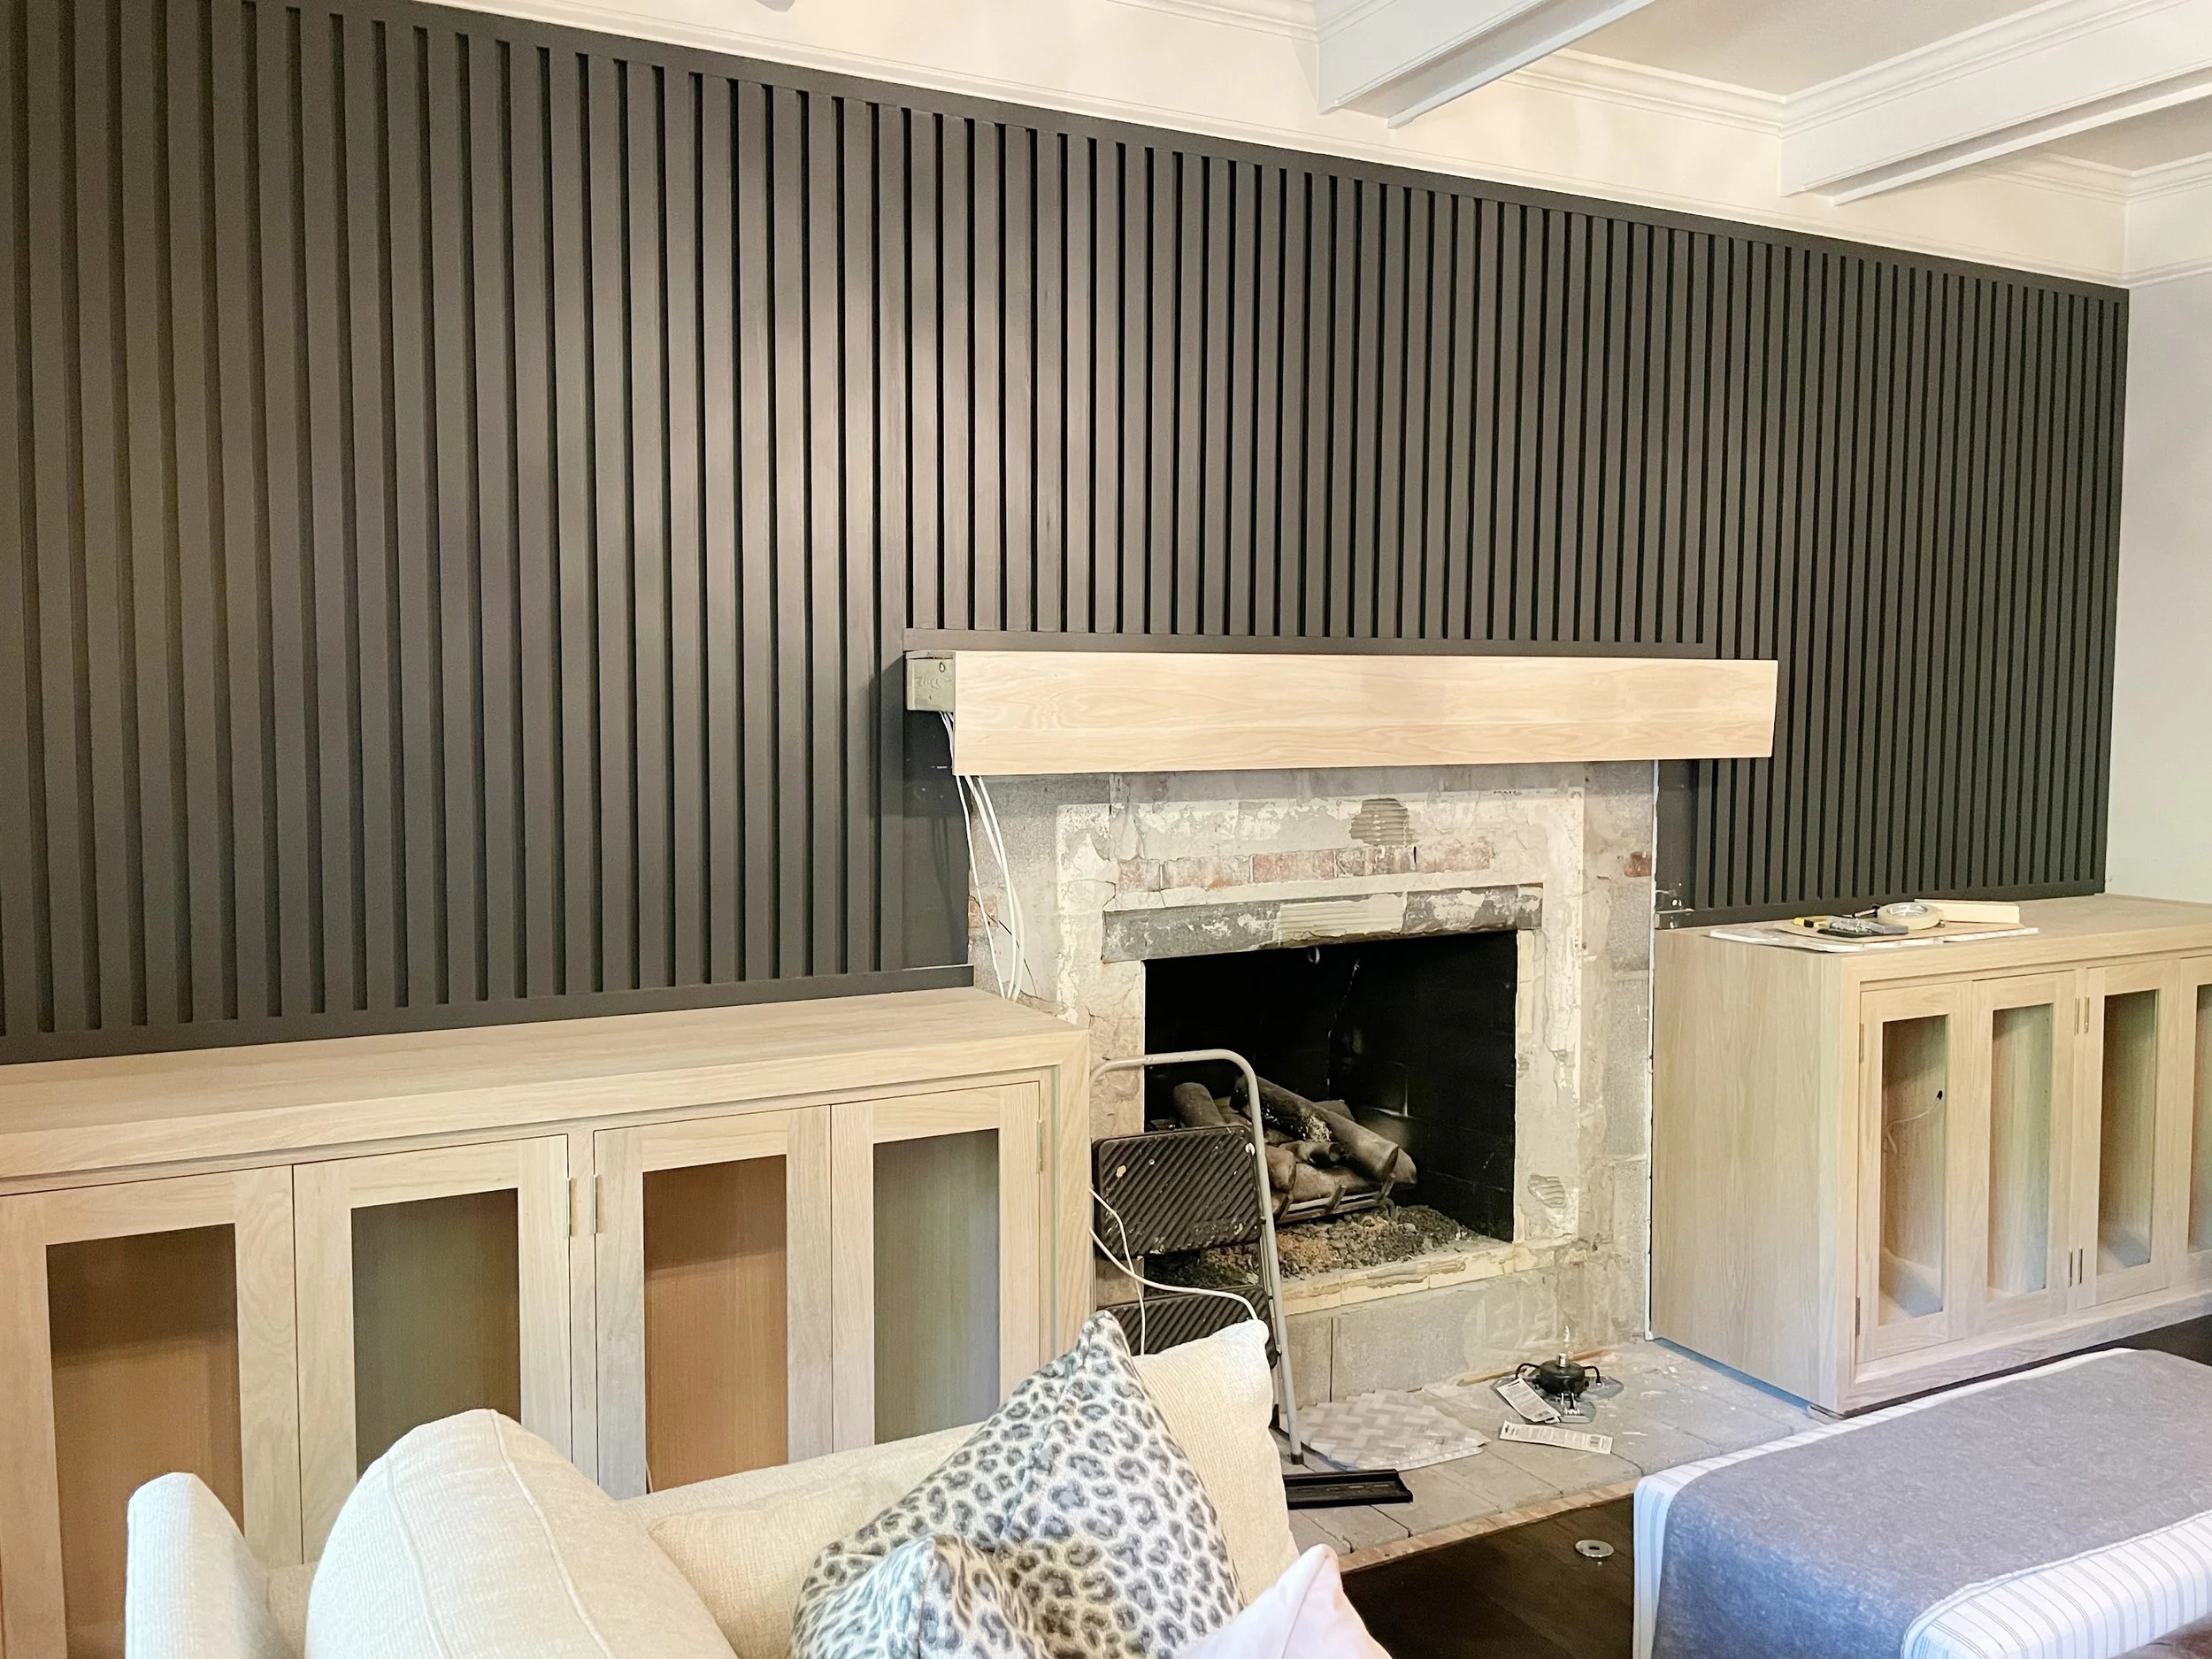
The custom cabinetry and mantel for this project are made from solid white oak. They were designed specifically for this space, so the cabinetry fits perfectly around the fireplace.
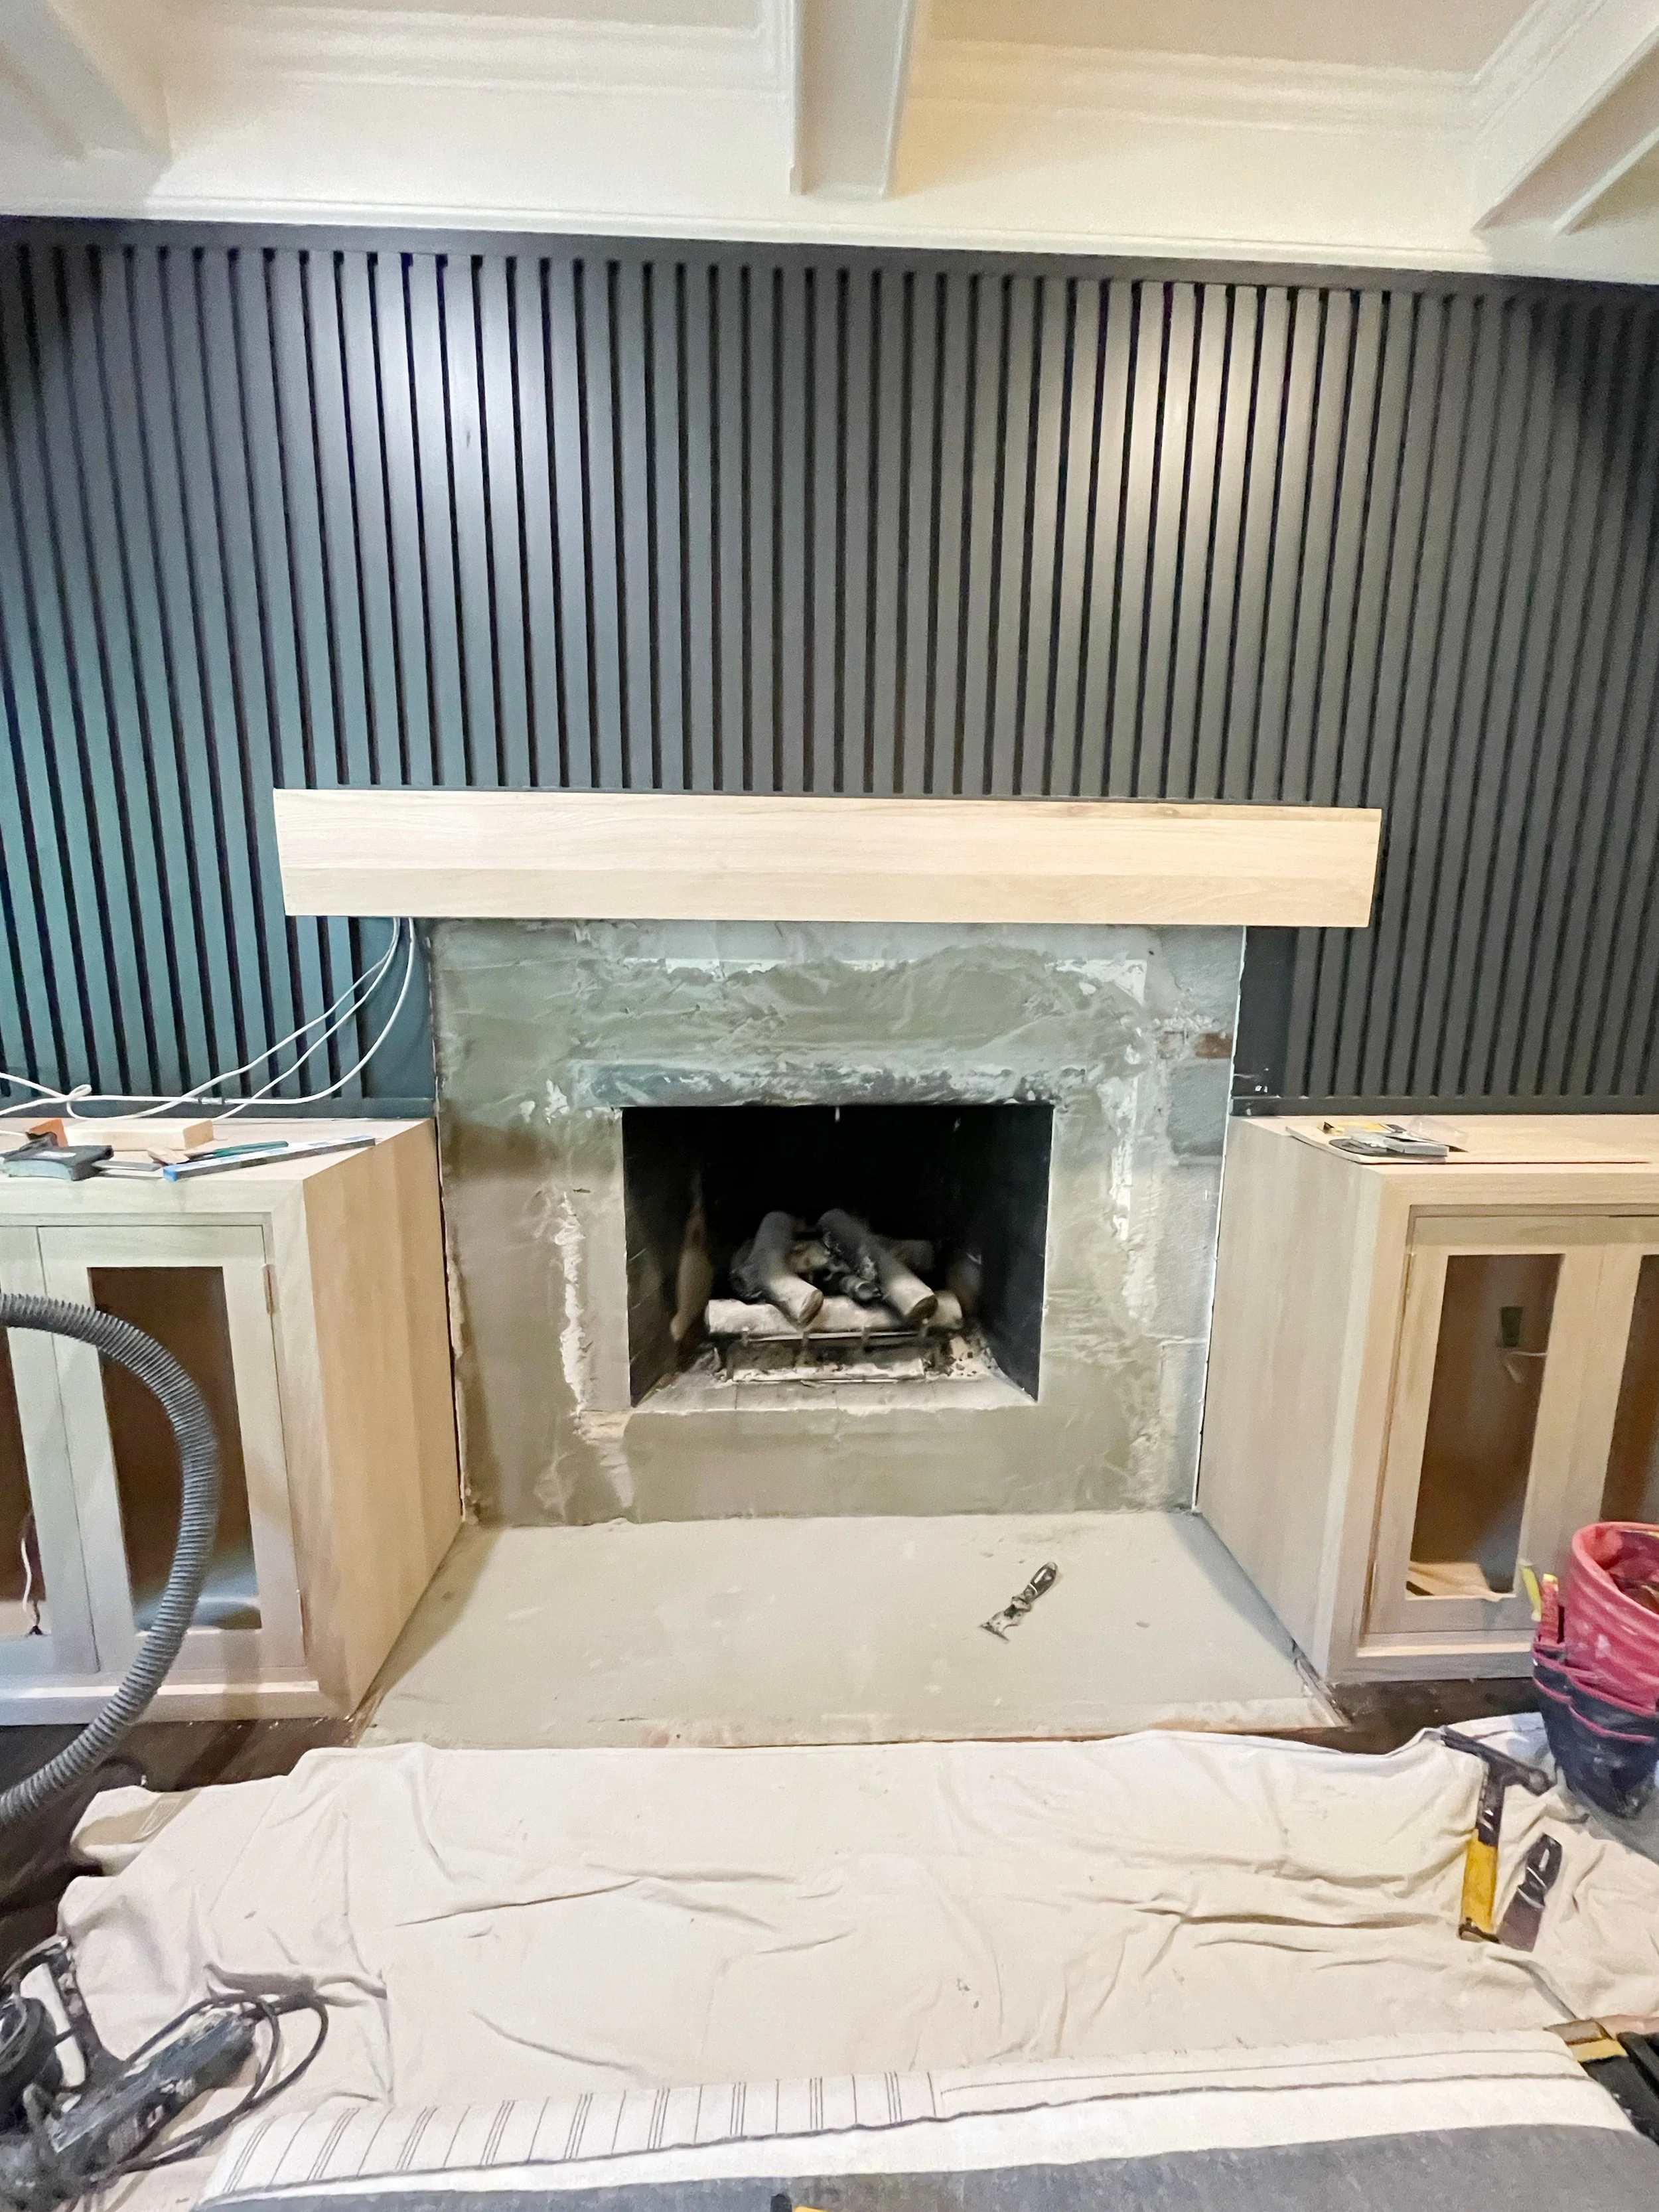
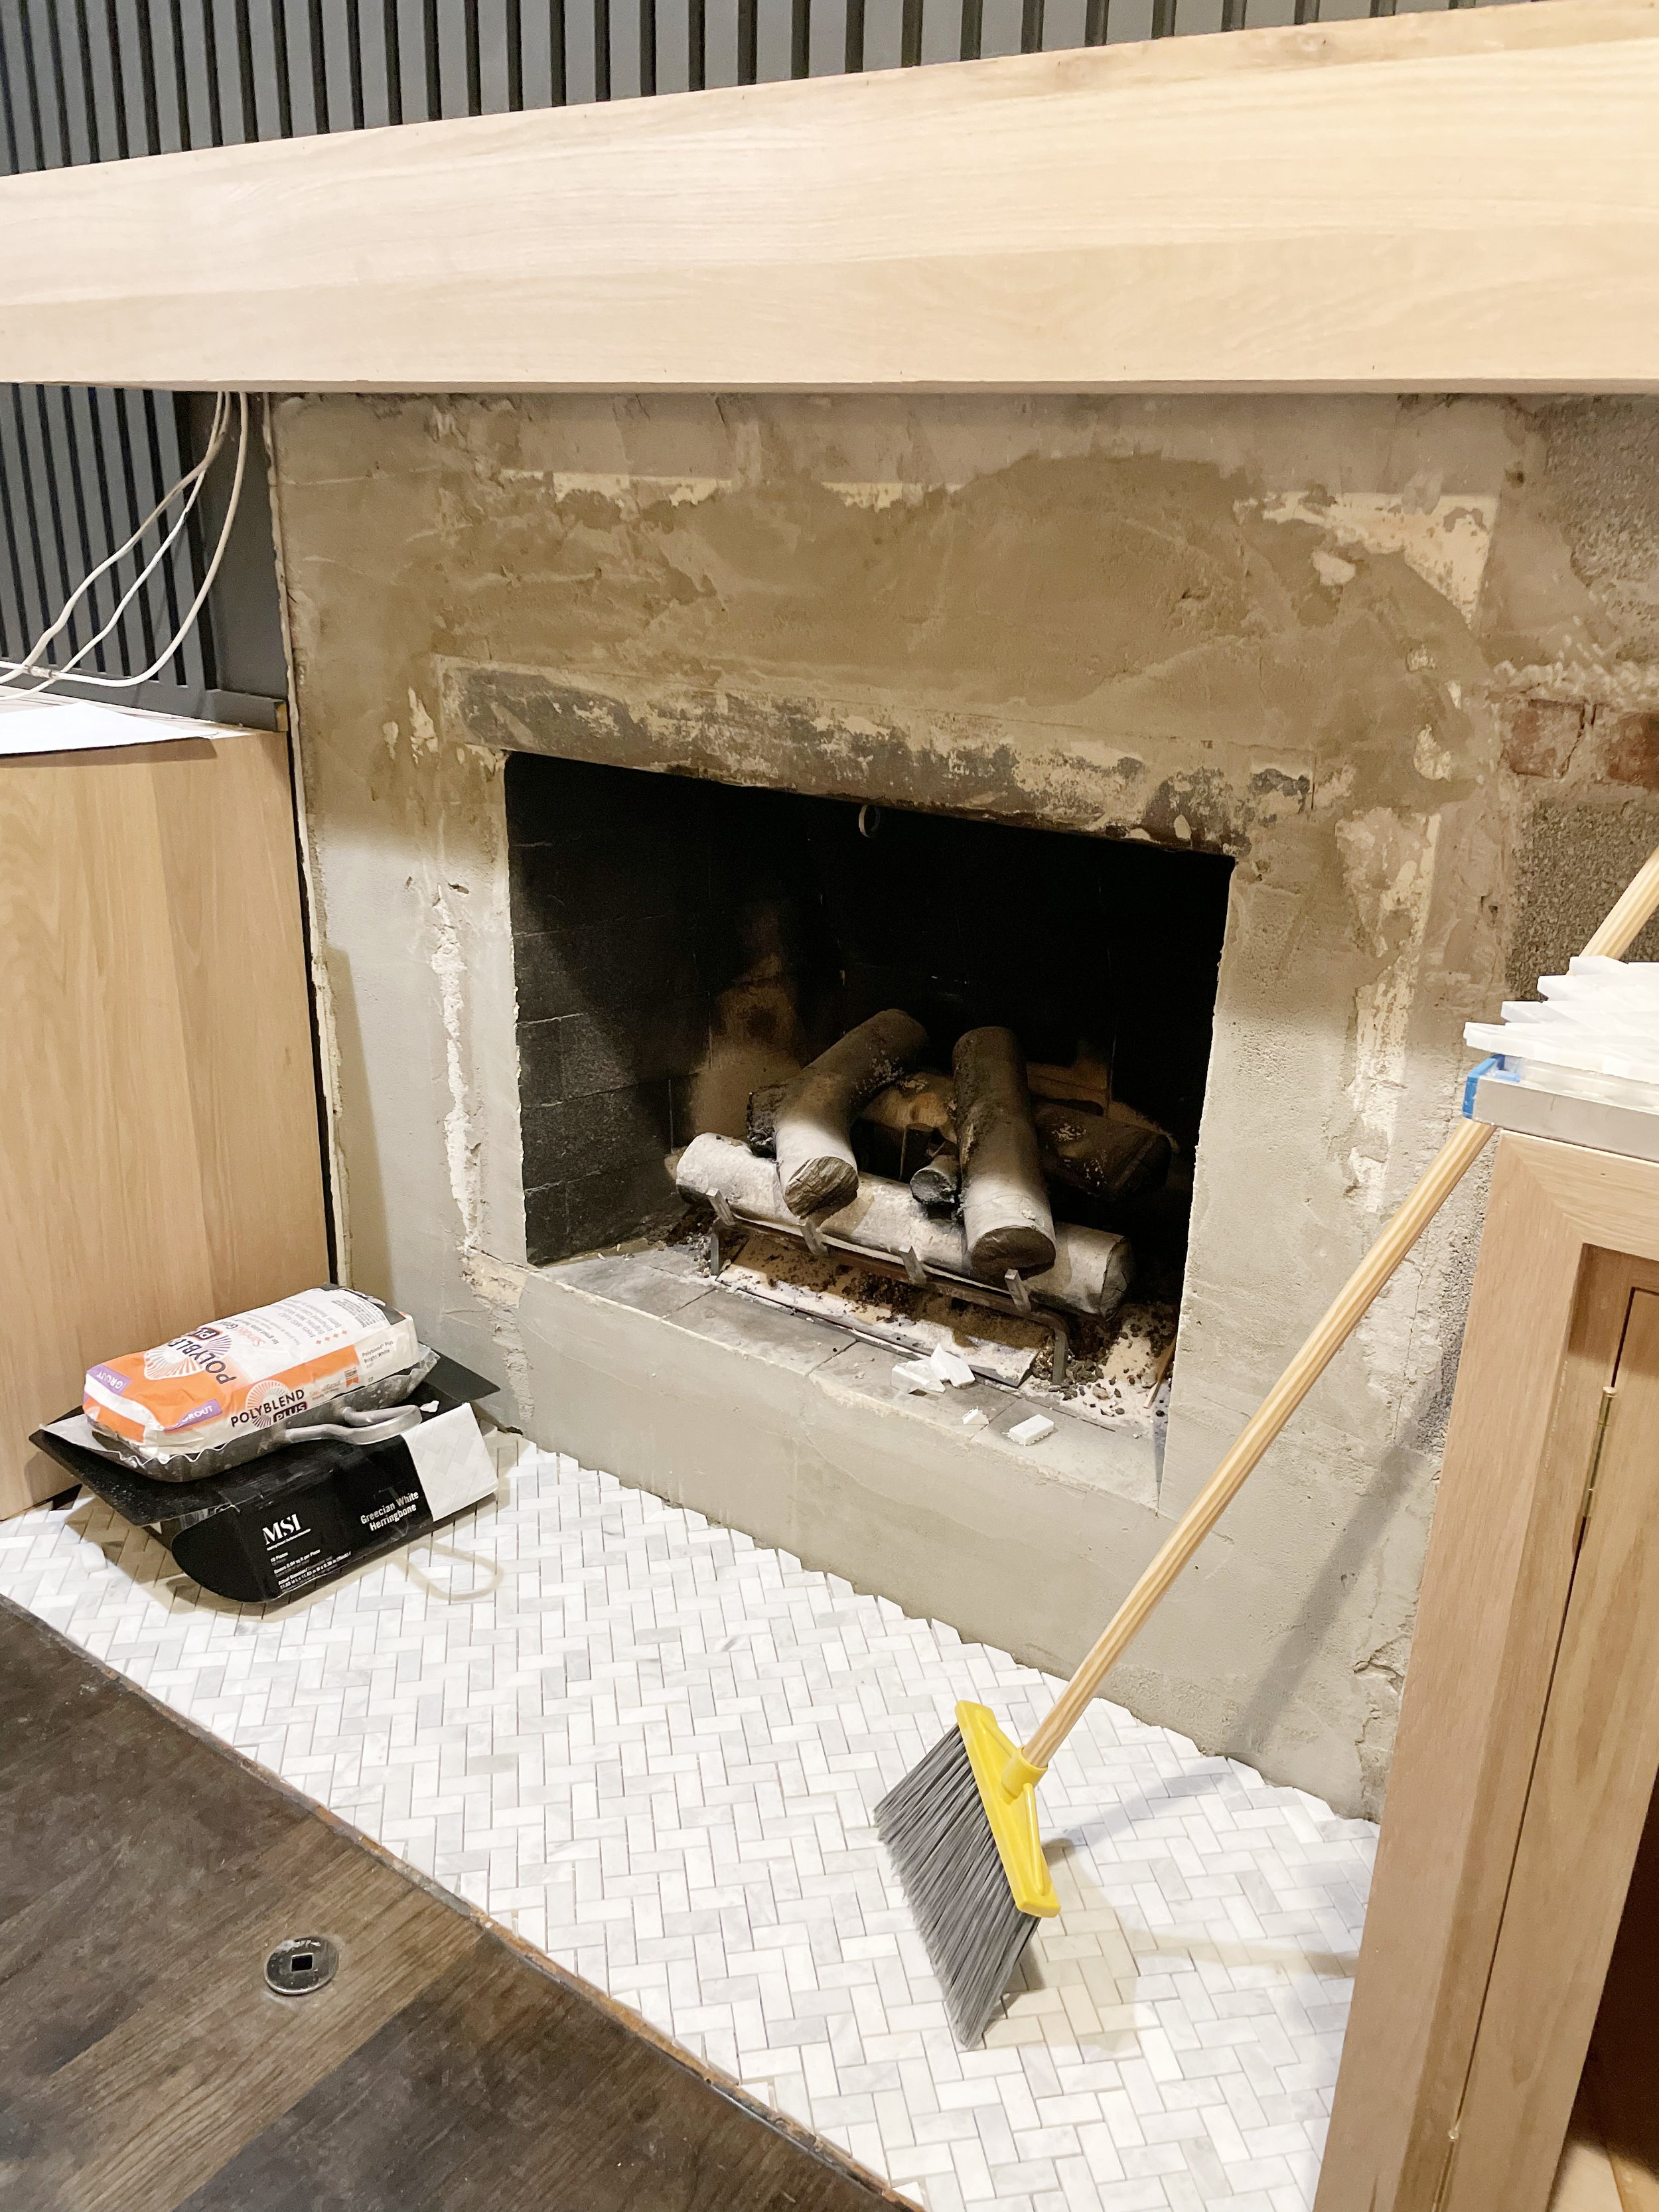
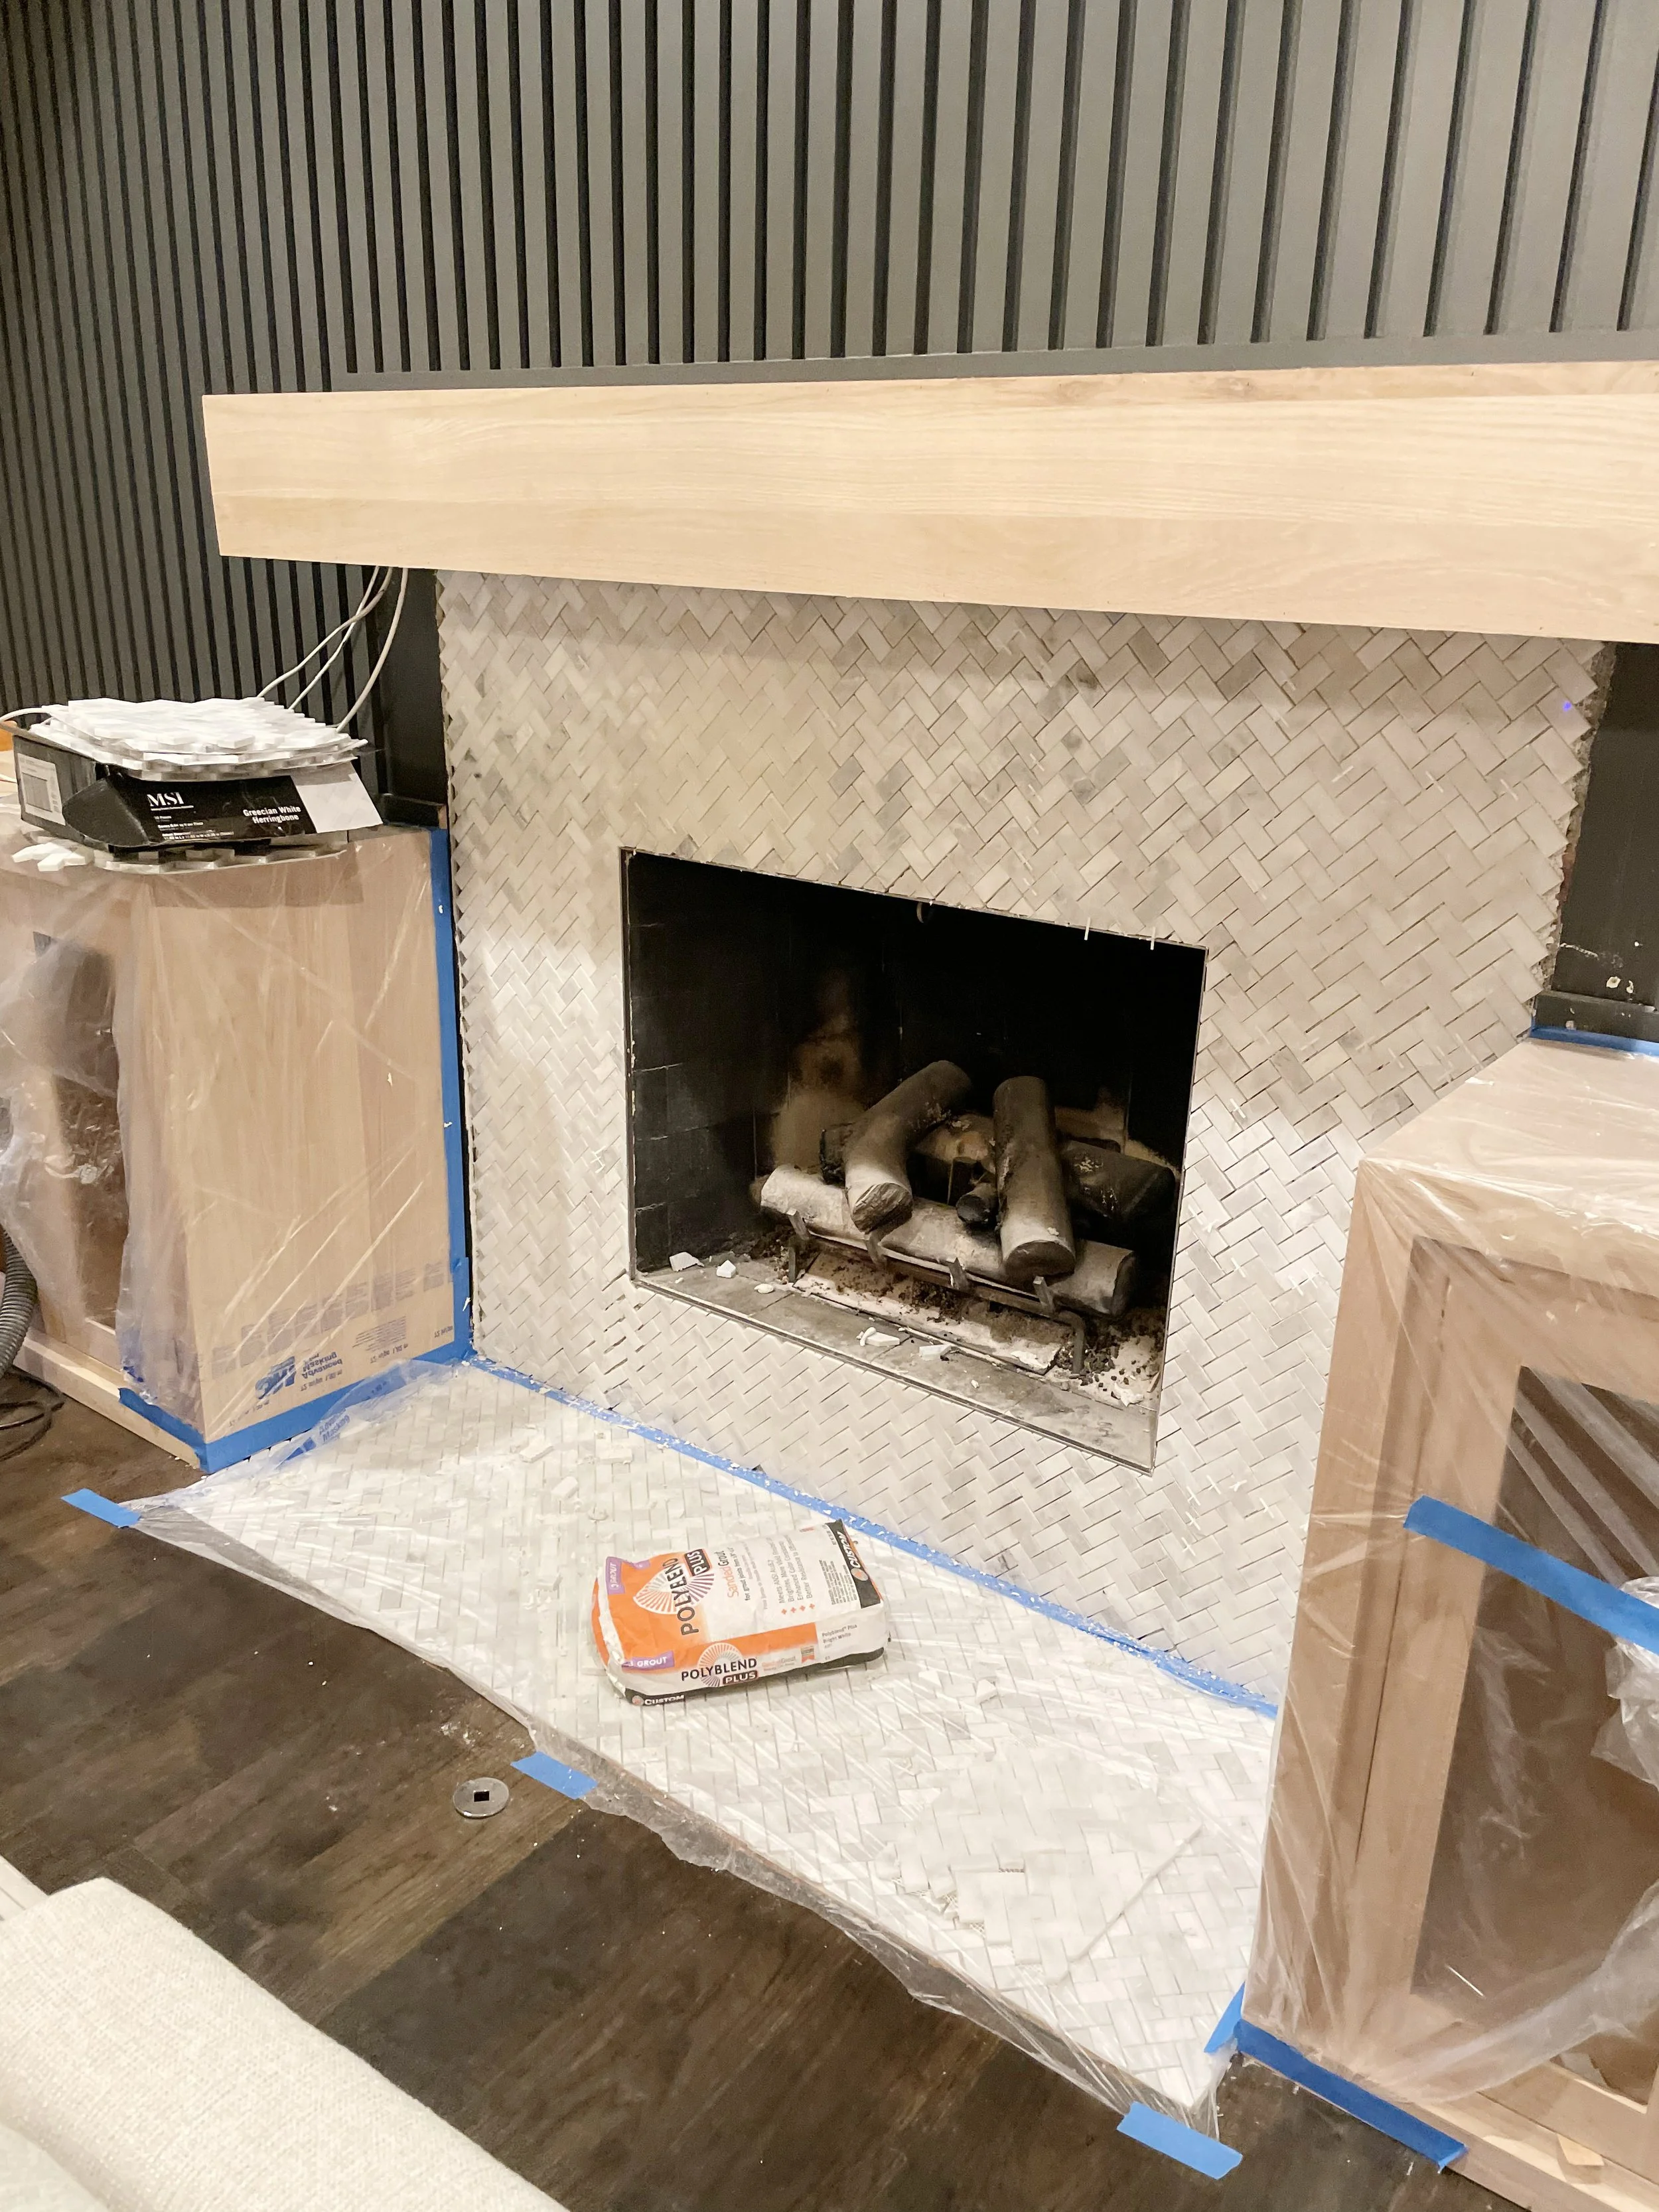
With the cabinets installed, it’s time for tile! Originally, we were going to rebuild the hearth that was there before, but with this more contemporary look, we decided to make a tile hearth that is level with the rest of the floor.

Stain selection was one of the most challenging parts of this whole project! Originally, I thought I wanted a lighter finish like the left side of the mantel in the image above. That look didn’t work well with the rest of my home, so we decided to warm it up quite a bit with a more rich stain.

Almost there! When they were applying the stain to all the woodwork, they put up this plastic sheet to protect all the furniture in the room. It definitely makes for a fun reveal moment…

And here it is! I am in love with how it turned out. There were a few changes from the original design plan, but I couldn’t have asked for a more perfect result!
